Gitlab 企业版安装激活
一、 gitlab简介
GitLab 是一个用于仓库管理系统的开源项目,使用Git作为代码管理工具,并在此基础上搭建起来的Web服务。
GitLab是由GitLabInc.开发,使用MIT许可证的基于网络的Git仓库管理工具,且具有wiki和issue跟踪功能。使用Git作为代码管理工具,并在此基础上搭建起来的web服务。
GitLab由乌克兰程序员DmitriyZaporozhets和ValerySizov开发,它使用Ruby语言写成。后来,一些部分用Go语言重写。截止2018年5月,该公司约有290名团队成员,以及2000多名开源贡献者。GitLab被IBM,Sony,JülichResearchCenter,NASA,Alibaba,Invincea,O’ReillyMedia,Leibniz-Rechenzentrum(LRZ),CERN,SpaceX等组织使用。
gitlab的安装方式有很多种,比如docker镜像安装,Helm charts安装,源代码安装,GET(GitLab Environment Toolkit)安装、yum安装、使用rpm包安装等.
二、系统要求
空闲硬盘空间: 2.5G+
CPU: 4core+ (4核最多支持500用户,8核最多支持1000用户)
内存:4GB+
Database
PostgreSQL
PostgreSQL is the only supported database and is bundled with the Linux package. You can also use an external PostgreSQL database.
Depending on the number of users, the PostgreSQL server should have:
-
For most GitLab instances, at least 5 to 10 GB of storage
-
For GitLab Ultimate, at least 12 GB of storage (1 GB of vulnerability data must be imported)
For the following versions of GitLab, use these PostgreSQL versions:
| GitLab version | Minimum PostgreSQL version | Maximum PostgreSQL version |
|---|---|---|
| 17.x | 14.9 | 15.x |
| 16.x | 13.6 | 15.x (tested against GitLab 16.1 and later) |
| 15.x | 12.10 | 14.x (tested against GitLab 15.11 only), 13.x |
三、主机安装
# 添加 GitLab 的 GPG 密钥和仓库
curl https://packages.gitlab.com/install/repositories/gitlab/gitlab-ee/script.deb.sh | sudo bash

# 更新仓库
sudo apt update

# 查看所有可用版本
apt list --all-versions gitlab-ee

# 安装最新版
apt install -y gitlab-ee

# 安装指定版本
apt install gitlab-ee=17.2.1-ee.0

配置gitlab
安装完成后执行以下命令gitlab将会自动帮我们完成一些必要的配置,切记如果你手动完成一些配置后不要重复执行以下命令,否则手动配置的参数会被清除,严重时会导致用户访问时出现http 500错误.

修改external_url
编辑文件/etc/gitlab/gitlab.rb

#replace gitlab.example.com with your domain or your ip
# for instance external_url 'http://192.168.1.100'
external_url 'your_domain'

gitlab-ctl reconfigure
启动gitlab

gitlab默认运行在80端口
需要检查防火墙状态, 如何防火墙已开启, 需要放行80端口

# 检查防火墙是否开启
sudo firewall-cmd --state

# 如果开启, 需放行80端口
sudo firewall-cmd --add-port=80/tcp --permanent
sudo firewall-cmd --reload
如果一切顺利,我们就可以启动gitlab了,启动命令为
gitlab-ctl start
启动成功后, 可以使用浏览器访问gitlab web页面,默认端口是80, 所以可以打开http://your_server_address访问.

如果没有设置密码,系统将为root用户生成一个随机密码,该随机密码可以在/etc/gitlab/initial_root_password文件中找到.
建议修改该随机密码,方式为
gitlab-rake "gitlab:password:reset[root]"
参数说明: 命令中的root即为root用户,该命令也可以用来为其他用户设置密码.
关于gitlab的高级配置,可以参考gitlab的官网
如果要配置gitlab ci/cd还需要安装gitlab-runner, gitlab-runner的安装和配置可以参考我的博客gitlab-runner安装与配置, 更多关于gitlab的文章请访问gitlab合集
这里补充几点如何启动,关闭,查看gitlab状态的命令,方便troubleshooting

# 关闭gitlab
gitlab-ctl stop

# 重启gitlab
gitlab-ctl restart

# 查看gitlab状态
gitlab-ctl status

# 查看gitlab滚动日志
gitlab-ctl tail

# 想了解更多命令,可以查看帮助
gitlab-ctl --help

# 命令行查看gitlab版本
cat /opt/gitlab/embedded/service/gitlab-rails/VERSION

#查看日志文件
日志文件位于/var/log/gitlab下, 日志是按照服务分类存放
Gitlab 日志文件位于 /var/log/gitlab/gitlab-rails/production.log
四、docker compose安装
version: '3.7'
services:
  web:
    image: 'gitlab/gitlab-ee:17.2.1-ee.0'
    restart: always
    hostname: 'gitlab.example.com'
    environment:
      GITLAB_OMNIBUS_CONFIG: |
        external_url 'https://gitlab.example.com'
    ports:
      - '30022:22'
      - '30080:80'
      - '30443:443'
    volumes:
      - '/data/docker-compose/gitlab/config:/etc/gitlab'
      - '/data/docker-compose/gitlab/logs:/var/log/gitlab'
- '/data/docker-compose/gitlab/data:/var/opt/gitlab'容器成功启动后:访问https://ip:30443
默认用户名:root
默认密码:
docker exec -it gitlab-web-1 bash

cat /etc/gitlab/initial_root_password
五、k8s部署
5.1 部署文件
apiVersion: apps/v1
kind: Deployment
metadata:
  name: gitlab-ee
  namespace: middleware
spec:
  selector:
    matchLabels:
      app: gitlab
  # 项目的提交历史记录将只保留最近的 100 次提交 超出这个范围的提交将被删除或不可访问(具体取决于 GitLab 的实现方式)
  revisionHistoryLimit: 100
  template:
    metadata:
      labels:
        app: gitlab
    spec:
      containers:
      - env:
        - name: GITLAB_OMNIBUS_CONFIG
          value: |
            external_url 'http://192.168.41.50:31080'
            gitlab_rails['gitlab_shell_ssh_port'] = 31022
            gitlab_rails['gitlab_ssh_host'] = '192.168.41.50'
            gitlab_rails['time_zone'] = 'Asia/Shanghai'
            gitlab_rails['db_adapter'] = "postgresql"
            gitlab_rails['db_encoding'] = "utf8"
            gitlab_rails['db_database'] = "gitlab"
            gitlab_rails['db_username'] = "postgres"
            gitlab_rails['db_password'] = "123629he"
            gitlab_rails['db_host'] = '192.168.41.50'
            gitlab_rails['db_port'] = 30431
            gitlab_workhorse['listen_network'] = 'tcp'
            gitlab_workhorse['listen_addr'] = '0.0.0.0:31088'
            nginx['listen_port'] = 31080
            # 新增配置,允许使用 31088 端口进行 HTTP 方式的代码操作
            gitlab_rails['gitlab_http_clone_host'] = '192.168.41.50'
            gitlab_rails['gitlab_http_clone_port'] = 31088
        - name: TZ
          value: Asia/Shanghai
        - name: GITLAB_TIMEZONE
          value: Beijing
        # 用于加密 CI 密钥变量及数据库中的重要凭证。如果丢失这个密码,将无法使用已经存在的 CI 密钥。
        - name: GITLAB_SECRETS_DB_KEY_BASE
          value: long-and-random-alpha-numeric-string
        # 用于密码重置链接以及其他“标准”身份验证功能。如果丢失这个密码,电子邮件中的密码重置 token 将重置。
        - name: GITLAB_SECRETS_SECRET_KEY_BASE
          value: long-and-random-alpha-numeric-string
        # 用于加密数据库的 2FA 密钥。如果丢失这个密码,所有用户都无法通过 2FA 登录
        - name: GITLAB_SECRETS_OTP_KEY_BASE
          value: long-and-random-alpha-numeric-string
        - name: GITLAB_ROOT_PASSWORD
          #valueFrom:
          #  secretKeyRef:
          #    name: git-user-pass
          #    key: password
          value: 123629He
        - name: GITLAB_ROOT_EMAIL
          value: 851448443@qq.com
        - name: GITLAB_HOST
          value: 192.168.41.50
        - name: GITLAB_PORT
          value: "31080"
        - name: GITLAB_SSH_PORT
          value: "31022"
        - name: GITLAB_NOTIFY_ON_BROKEN_BUILDS
          value: "true"
        - name: GITLAB_NOTIFY_PUSHER
          value: "false"
        - name: GITLAB_BACKUP_SCHEDULE
          value: daily
        - name: GITLAB_BACKUP_TIME
          value: 01:00
        name: gitlab
        image: 192.168.41.200/devops/gitlab/gitlab-ee:16.11.10-ee.0
        imagePullPolicy: IfNotPresent
        ports:
        - containerPort: 443
          name: https
        - containerPort: 31080
          name: http
        - containerPort: 31088
          name: http-git
        - containerPort: 22
          name: ssh
        resources:
          requests:
            memory: "2048Mi"
            cpu: 2
          limits:
            memory: "8096Mi"
            cpu: 4
        volumeMounts:
        - name: timezone
          mountPath: /etc/localtime
          readOnly: true
        - name: gitlab
          mountPath: /etc/gitlab
          subPath: gitlab-config                    # 使用 subPath 在宿主机的挂载目录上设置一个子目录,用于存放上面指定目录的数据
        - name: gitlab
          mountPath: /var/log/gitlab
          subPath: gitlab-logs
        - name: gitlab
          mountPath: /var/opt/gitlab
          subPath: gitlab-data
      imagePullSecrets:
      - name: harbor-secret
      volumes:
      - name: timezone
        hostPath:
          path: /etc/localtime
          type: ""
      - name: gitlab
        persistentVolumeClaim:
          claimName: gitlab-pvc    #绑定下面创建的 PVC

---
apiVersion: v1
kind: PersistentVolumeClaim
metadata:
  name: gitlab-pvc
  namespace: middleware
spec:
  storageClassName: nfs-sc
  accessModes:
    - ReadWriteMany
  resources:
    requests:
      storage: 10Gi

---
apiVersion: v1
kind: Service
metadata:
  name: gitlab-svc
  namespace: middleware
spec:
  type: NodePort
  ports:
  - port: 443 # pod端口
    nodePort: 31443 # 外部端口
    targetPort: 443 # 容器端口
    name: https
  - port: 31080
    nodePort: 31080
    targetPort: 31080
    name: http
  - port: 31088
    nodePort: 31088
    targetPort: 31088
    name: http-git
  - port: 22
    nodePort: 31022
    targetPort: 22
    name: ssh
  selector:
    app: gitlab
5.2 获取初始密码
# 默认密码已配置为 123629He
kubectl exec -it -n middleware $(kubectl get pods -n middleware | grep gitlab | awk '{print$1}') -- cat /etc/gitlab/initial_root_password | grep Password:
5.3 登录
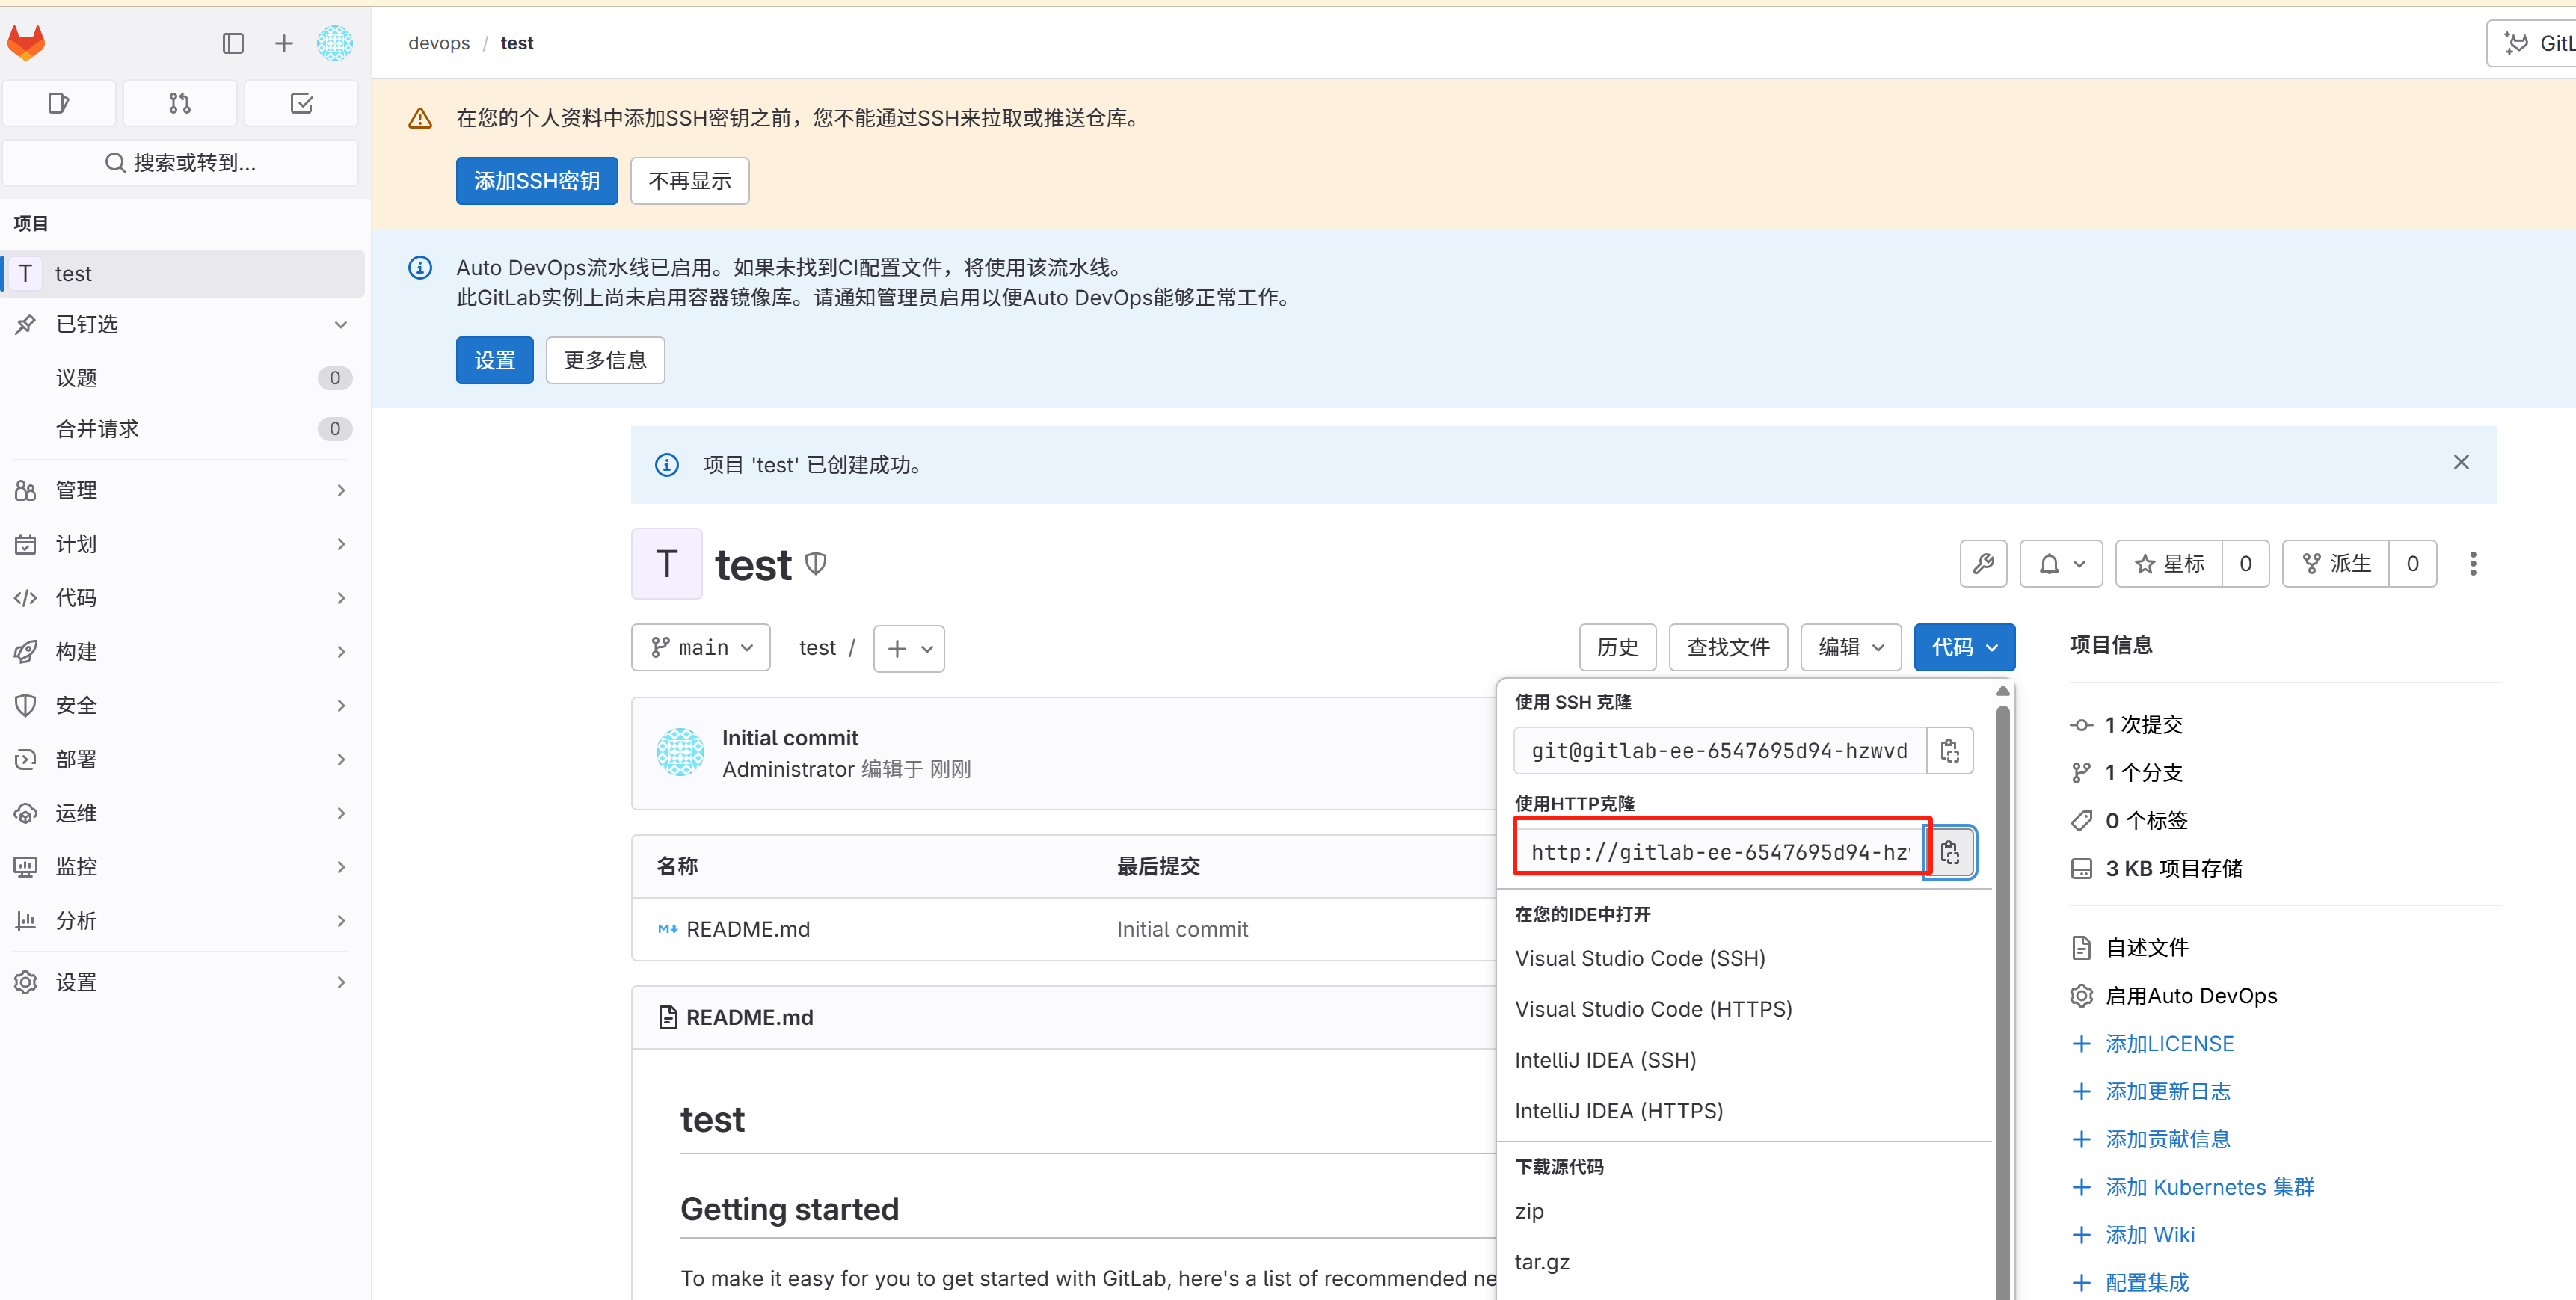
http://192.168.41.50:31080/5.4 配置外部URL
-
代码仓库克隆链接 gitlab 会根据机器内部的 FQCN 来标记一个仓库的 url,这个url不可用
-
按需修改nfs中的配置文件gitlab.rb
# 1、修改配置文件
vim /nfs/xxx/gitlab-config/conf/gitlab.rb

external_url 'http://192.168.41.50:31080'
gitlab_rails['gitlab_ssh_host'] = '192.168.41.50'  ## ip需要修改为访问地址
gitlab_rails['gitlab_shell_ssh_port'] = 31022
gitlab_rails['time_zone'] = 'Asia/Shanghai'

gitlab_rails['db_adapter'] = "postgresql"
gitlab_rails['db_encoding'] = "utf8"
gitlab_rails['db_database'] = "gitlab" #需要现在postgresql里创建数据库gitlab,否则启动失败
gitlab_rails['db_username'] = "postgres"
gitlab_rails['db_password'] = "123629he"
gitlab_rails['db_host'] = "192.68.41.50"
gitlab_rails['db_port'] = '30431'

gitlab_rails['smtp_enable'] = false
gitlab_rails['smtp_address'] = "smtp.qq.com"
gitlab_rails['smtp_port'] = 465
gitlab_rails['smtp_user_name'] = "851448443@qq.com"
gitlab_rails['smtp_password'] = "yasfadsfafddfdj"  ## 密码为qq的smtp授权码 不是登录密码
gitlab_rails['smtp_domain'] = "smtp.qq.com"
gitlab_rails['smtp_authentication'] = "login"
gitlab_rails['smtp_enable_starttls_auto'] = true
gitlab_rails['smtp_tls'] = true
gitlab_rails['gitlab_email_enabled'] = false
gitlab_rails['gitlab_email_from'] = '851448443@qq.com'
gitlab_rails['gitlab_email_display_name'] = 'gitlab'
gitlab_rails['gitlab_email_reply_to'] = '851448443@qq.com'
gitlab_rails['gitlab_email_subject_suffix'] = '[gitlab]'

#2、重启gitlab 重启后再激活
kubectl delete pod -n middleware $(kubectl get pods -n middleware | grep gitlab | awk '{print$1}')
六、 激活
6.1 安装ruby
# 安装ruby
sudo apt install ruby -f

# 查看安装版本
ruby -v

# 查看gem安装版本
gem -v
6.2 安装gitlab-license
gem install gitlab-license6.3 破解方法
-
创建一个rb文件
mkdir -p /opt/gitlab/license cd /opt/gitlab/license vim license.rb -
将如下内容拷贝到license.rb
require "openssl" require "gitlab/license" key_pair = OpenSSL::PKey::RSA.generate(2048) File.open("license_key", "w") { |f| f.write(key_pair.to_pem) } public_key = key_pair.public_key File.open("license_key.pub", "w") { |f| f.write(public_key.to_pem) } private_key = OpenSSL::PKey::RSA.new File.read("license_key") Gitlab::License.encryption_key = private_key license = Gitlab::License.new license.licensee = { "Name" => "none", "Company" => "none", "Email" => "example@test.com", } license.starts_at = Date.new(2021, 1, 1) # 开始时间 license.expires_at = Date.new(2050, 1, 1) # 结束时间 license.notify_admins_at = Date.new(2049, 12, 1) license.notify_users_at = Date.new(2049, 12, 1) license.block_changes_at = Date.new(2050, 1, 1) license.restrictions = { active_user_count: 10000, } puts "License:" puts license data = license.export puts "Exported license:" puts data File.open("GitLabBV.gitlab-license", "w") { |f| f.write(data) } public_key = OpenSSL::PKey::RSA.new File.read("license_key.pub") Gitlab::License.encryption_key = public_key data = File.read("GitLabBV.gitlab-license") $license = Gitlab::License.import(data) puts "Imported license:" puts $license unless $license raise "The license is invalid." end if $license.restricted?(:active_user_count) active_user_count = 10000 if active_user_count > $license.restrictions[:active_user_count] raise "The active user count exceeds the allowed amount!" end end if $license.notify_admins? puts "The license is due to expire on #{$license.expires_at}." end if $license.notify_users? puts "The license is due to expire on #{$license.expires_at}." end module Gitlab class GitAccess def check(cmd, changes = nil) if $license.block_changes? return build_status_object(false, "License expired") end end end end puts "This instance of GitLab Enterprise Edition is licensed to:" $license.licensee.each do |key, value| puts "#{key}: #{value}" end if $license.expired? puts "The license expired on #{$license.expires_at}" elsif $license.will_expire? puts "The license will expire on #{$license.expires_at}" else puts "The license will never expire." end -
生成 GitLabBV.gitlab-license license_key license_key.pub 这三个文件。
cd /opt/gitlab/license ruby license.rb -
使用许可证
-
首先把license_key.pub文件复制到nfs对应的gitlab-config目录下
cp license_key.pub /nfs/middleware-gitlab-pvc-pvc-a9d1340c-be3c-4752-854e-6b0a6773b073/gitlab-config/
-
-
然后进入gitlab容器
kubectl exec -it -n middleware $(kubectl get pods -n middleware | grep gitlab | awk '{print$1}') bash -
备份 /opt/gitlab/embedded/service/gitlab-rails/.license_encryption_key.pub
cp /opt/gitlab/embedded/service/gitlab-rails/.license_encryption_key.pub /opt/gitlab/embedded/service/gitlab-rails/.license_encryption_key.pub_bak -
用 license_key.pub 文件替换 /opt/gitlab/embedded/service/gitlab-rails/.license_encryption_key.pub 中的内容
cp /etc/gitlab/license_key.pub /opt/gitlab/embedded/service/gitlab-rails/.license_encryption_key.pub -
修改等级
vi /opt/gitlab/embedded/service/gitlab-rails/ee/app/models/license.rb # 查找plan 277行 # Esc模式下输入 277 enter # 修改STARTER_PLAN 为 ULTIMATE_PLAN - restricted_attr(:plan).presence || STARTER_PLAN + restricted_attr(:plan).presence || ULTIMATE_PLAN -
重启gitlab
gitlab-ctl restart
刚刚ruby license.rb执行后生成的三个文件其中 GitLabBV.gitlab-license 即是许可证,浏览器打开gitlab管理页面 http://${your_gitlab_server_address}/admin/application_settings/general
例如:http://localhost:8080/admin/application_settings/general
-
展开 add license
-
勾选Enter license key, 填入license,
-
勾选terms of service 点击add license按钮,
-
当看到这段话, 表示成功。
The license was successfully uploaded and is now active. You can see the details below.
七、升级gitlab
Gitlab的更新速度还是挺快的, 每隔一个月就会发布一个release. 如果要使用一些新特性或修补一些安全漏洞, 掌握升级技巧是必不可少的. 这里个人建议收藏文档, 原文在文章末尾有链接地址, 以备升级时使用, 知道系统是如何安装的, 又该如何升级. 原文实时更新, 踩过的坑都会记录下来.
更多关于Gitlab的release政策, 请参考gitlab官方文档GitLab release and maintenance policy
7.1 升级前备份
-
备份数据
gitlab-rake gitlab:backup:create-
备份敏感数据
手动备份两个具有敏感数据的文件
cp  /etc/gitlab/gitlab.rb  /var/opt/gitlab/backups
# and
cp  /etc/gitlab/gitlab-secrets.json  /var/opt/gitlab/backups
说明:
- 备份被保存在/var/opt/gitlab/backups目录下
- 备份文件名格式如下: 例如1665044212_2022_10_06_14.4.1-ee_gitlab_backup.tar, 命名规则为:备份编号+日期+gitlab版本号+后缀
- 备份恢复的原则是对应版本的备份文件只能使用对应版本的gitlab程序进行恢复
- 跨版本恢复备份文件会出现恢复失败或未知错误
- 如果要在高版本中使用低版本的备份文件
- 方法一: 在另一台机中 安装低版本gitlab 将低版本的备份程序采用低版本的gitlab恢复后再将低版本的gitlab升级到高版本, 再使用高版本的gitlab制作备份文件
5.2. 开启yum缓存
-
gitlab的每个安装包都接近1G大小,gitlab升级过程中可能需要反复恢复重试,如果不开启yum缓存,即每次执行yum install无论成功与否,安装包都会被清理掉,下次重试即使是相同的版本也会去服务器上重新下载,会特别慢,而且消耗服务器带宽,如果触发了镜像服务器的限流机制,升级可能会无法进行下去.
-
强烈建议开启yum缓存,等升级完成后再关闭缓存并手动清理 /var/cache/yum/x86_64/7/gitlab_gitlab-ee下的缓存.
-
开启yum 缓存步骤如下: 修改/etc/yum.conf, 将keepcache设置为1, 默认为0.
这样当再次重试相同版本时就可以使用-C 参数使用缓存(详细使用方法参考”开始升级章节”),而不必去镜像服务器上重新下载.
/etc/yum.conf
[main]
cachedir=/var/cache/yum/$basearch/$releasever
keepcache=1 # 开启缓存, 1表示开启缓存, 0表示关闭缓存
debuglevel=2
logfile=/var/log/yum.log
exactarch=1
obsoletes=1
gpgcheck=1
plugins=0
5.3. 开始升级
-
升级前需要了解升级路径,gitlab不能一次性从低版本升级到最新版,需要升级到必要的中间版本,然后一步步升级到最新版本.主要涉及到版本之间的数据的迁移(data migration)工作,所以必须经过其中关键的版本升级,才能顺利完成数据更新操作.升级路径可以参考官网 - Upgrade paths, 这里简要列举路径如下
8.11.Z -> 8.12.0 -> 8.17.7 -> 9.0.13 -> 9.5.10 -> 10.0.7 -> 10.8.7-> 11.0.6 -> 11.11.8 -> 12.0.12 -> 12.1.17 -> 12.10.14 -> 13.0.14 -> 13.1.11 -> 13.8.8 -> 13.12.15 -> 14.0.12 -> 14.3.6 -> 14.9.5 -> 14.10.5 -> 15.0.5 -> 15.1.6 (for GitLab instances with multiple web nodes) -> 15.4.6 -> 15.11.13 ->
(only instances with lots of users or large pipeline variables history) > 16.1 (instances with NPM packages in their package registry) > 16.2.x (only instances with large pipeline variables history) > 16.3 > latest 16.Y.Z. -
首先确定gitlab版本信息, 然后再选择合适的升级路径
gitlab-rake gitlab:env:info

# 例如
GitLab information
Version:        14.4.1-ee
Revision:       abc23a14bac
gitlab-rake中Rake并不是单词Rake的意思, 它实际上是Ruby Make的简写形式, 是ruby种类似make的一种程序. 使用Rake可以做一些通用的管理和运维任务.
-
升级前关闭gitlab的部分服务
gitlab-ctl stop unicorn gitlab-ctl stop sidekiq gitlab-ctl stop nginx -
升级命令
升级命令和安装命令是一样的, 将x.y.z-ee.0.el7替换成关键中间版本
yum update -y -C gitlab-ee-x.y.z-ee.0.el7-C 参数使用缓存, 详细解释参考”开启yum缓存”
升级完成后,需要重新运行配置,否则启动会失败
gitlab-ctl reconfigure如果有手动配置,需要重做一遍.
需要启动gitlab,等待数据迁移任务完成,然后再备份,再次进行下一个版本的升级.
如果遇到严重问题,需要回退到上一个版本,导入备份,解决问题后继续往后升级,所以备份数据很重要.
备份恢复命令如下:其中636041545_2021_11_04_12.10.14为备份文件的名字,不包含文件名后缀.
gitlab-rake gitlab:backup:restore BACKUP=1636041545_2021_11_04_12.10.14 -
每个版本升级完成后,要启动gitlab等待数据迁移完成查看数据迁移任务,有两种查看方式,可以通过web界面查看,也可以通过命令行来查看.
-
web界面查看方式查看迁移任务的状态,打开web界面:
在页面顶部, 选择 Menu > Admin.
在页面左侧边栏,选择Monitoring > Background Migrations. -
命令行查看方式
gitlab-rails runner -e production 'puts Gitlab::BackgroundMigration.remaining'
-
八、gitlab迁移
-
有时我们需要将gitlab迁移到新的性能更好的服务器.怎么进行迁移呢?当然方法很多,这里介绍其中的一种方式,即通过先备份,然后在新的服务器上进行还原操作.
-
说明: gitlab还原有一点需要注意,那就是备份文件只能是在与创建备份的gitlab版本相同的gitlab上才能恢复,备份文件的后八位即是创建该备份的gitlab的版本,该版本只能在这种版本下进行还原.
8.1 备份数据
gitlab-rake gitlab:backup:create-
备份文件默认(如果没有修改默认配置的情况下)保存在/var/opt/gitlab/backups目录下面.
8.2 在新服务器上安装gitlab
-
可以参考本文的安装部分进行安装
8.3 还原备份
-
将备份文件拷贝到新服务器的/var/opt/gitlab/backups目录下,执行恢复命令.备份文件参数,根据自己的实际情况进行修改.
首先要将旧服务器上的两个文件
/etc/gitlab/gitlab.rb,/etc/gitlab/gitlab-secrets.json拷贝到新服务器, 否则后续会发现一些奇怪的问题.并将/etc/gitlab/gitlab.rb 的external_url设置为正确的url
然后执行
gitlab-ctl reconfiguregitlab-rake gitlab:backup:restore BACKUP=1636041545_2021_11_04_12.10.14如果还原失败, 请先参考问题排查章节, 再在到网上查找解决办法.
九、问题排查
-
问题 1:
从一台机迁移到另外一台机时报如下错错误
Restoring PostgreSQL database gitlabhq_production ... ERROR:  must be owner of extension pg_trgm
ERROR:  must be owner of extension btree_gist
ERROR:  must be owner of extension btree_gist
ERROR:  must be owner of extension pg_trgm
解决办法:
修改postgresql配置, 能从本地连接到postgresql
$ vim /var/opt/gitlab/postgresql/data/postgresql.conf
listen_addresses = '*'
# 最下面新增两行
$ vim /var/opt/gitlab/postgresql/data/pg_hba.conf
local   all         all                               trust
host    all         all                               127.0.0.1/32 trust
重启gitlab使得配置生效
gitlab-ctl restart修改gitlab账号为超级用户
$ su - gitlab-psql
$ /opt/gitlab/embedded/bin/psql -h 127.0.0.1 gitlabhq_production
psql (9.2.8)
Type "help" for help.

gitlabhq_production=# ALTER USER gitlab WITH SUPERUSER;
ALTER ROLE
gitlabhq_production=# \q
修改完gitlab用户权限后, 记得将postgresql的配置文件改回去
-
保证安全性, 防止误操作
-
以免后续安装postgresql数据库是参数端口冲突
-
-
问题 2:
解决Gitlab迁移后,项目的 CI/ CD页面报500错误
原因是: gitlab默认的备份机制,是不会备份gitlab.rb和gitlab-secrets.json文件的,
如果这两文件还存在则将其拷贝到新的服务器, 如果不存在则将secrets 清除重设